
AC Installation in Menomonee Falls, WI

AC Installation in Menomonee Falls, WI
Upgrading or installing a new air conditioning system is one of the most impactful home improvements for comfort and energy savings in Menomonee Falls, WI. With humid summers, variable spring and fall temperatures, and long heating seasons, choosing the right AC and getting a professional installation tailored to your home’s layout makes the difference between steady comfort and uneven cooling, high energy bills, or premature equipment failure. Below is a clear, decision-ready guide to the complete AC installation process, what to expect, and how to prepare your Menomonee Falls home.
Why replace or install a new AC in Menomonee Falls
- Older systems lose efficiency, increasing electric bills during warm, humid months.
- Improperly sized or installed units lead to poor humidity control — a common complaint in Wisconsin summers.
- New systems offer higher SEER ratings and improved refrigerants that reduce operating cost and environmental impact.
- Duct leaks and inadequate insulation are frequent in local homes and can undermine even a new AC’s performance.
Common AC installation types and issues in Menomonee Falls homes
- Replacement of a like-for-like central air system.
- Full system changeout when upgrading to higher efficiency or switching refrigerant types.
- Conversion from window/portable units to central AC for whole-house comfort.
- Ductless mini-split installations for additions, older homes, or zones without ductwork.
- Frequent problems addressed at installation: undersized or oversized equipment, leaky/undersized ducts, restricted airflow, and improper refrigerant charge.
Initial home assessment and load calculation
A reliable installation starts with a professional site assessment. Expect:
- A walk-through to note house orientation, insulation levels, window types, attic and basement conditions, and existing duct layout.
- A Manual J load calculation (explained in simple terms): this verifies how much cooling your home actually needs by accounting for square footage, insulation, windows, occupancy, and local climate. Manual J prevents common mistakes like oversizing.
- For homes with ducts, a Manual D duct design review ensures the distribution system will deliver the correct airflow to each room.
Choosing the right unit: sizing and efficiency
Selecting a properly sized, energy-efficient unit is crucial:
- Efficiency metrics: SEER (seasonal efficiency) rating indicates how much cooling you get per unit of electricity. Higher SEER means lower operating costs over time.
- Right-sizing matters more than maximum capacity. Oversized units short-cycle, which reduces dehumidification and shortens equipment life. Undersized units run continuously and fail to meet comfort needs.
- Consider refrigerant type and compatibility with current systems; new equipment often uses updated refrigerants with different performance characteristics.
- For Menomonee Falls homes with basements or finished attics, consider multi-stage compressors or variable-speed systems to balance efficiency and humidity control.
Ductwork inspection and necessary modifications
Ductwork often determines real-world performance:
- Inspection includes checking for leaks, inadequate insulation, improper sizing, and dampers or obstructions.
- Typical corrective actions: sealing leaks with mastic or UL-rated tape, insulating trunk lines, resizing or re-balancing duct runs, and replacing damaged sections.
- In homes without ducts, ductless mini-splits or a hybrid solution may be recommended to preserve finished space and reduce invasive construction.
Permitting and code compliance
- Proper installations comply with Menomonee Falls and Waukesha County building codes and electrical standards. A professional installer will pull required permits and schedule inspections as needed.
- Permitting ensures safety, proper refrigerant handling and disposal, and alignment with local mechanical and electrical codes — all important for future resale and warranty validity.
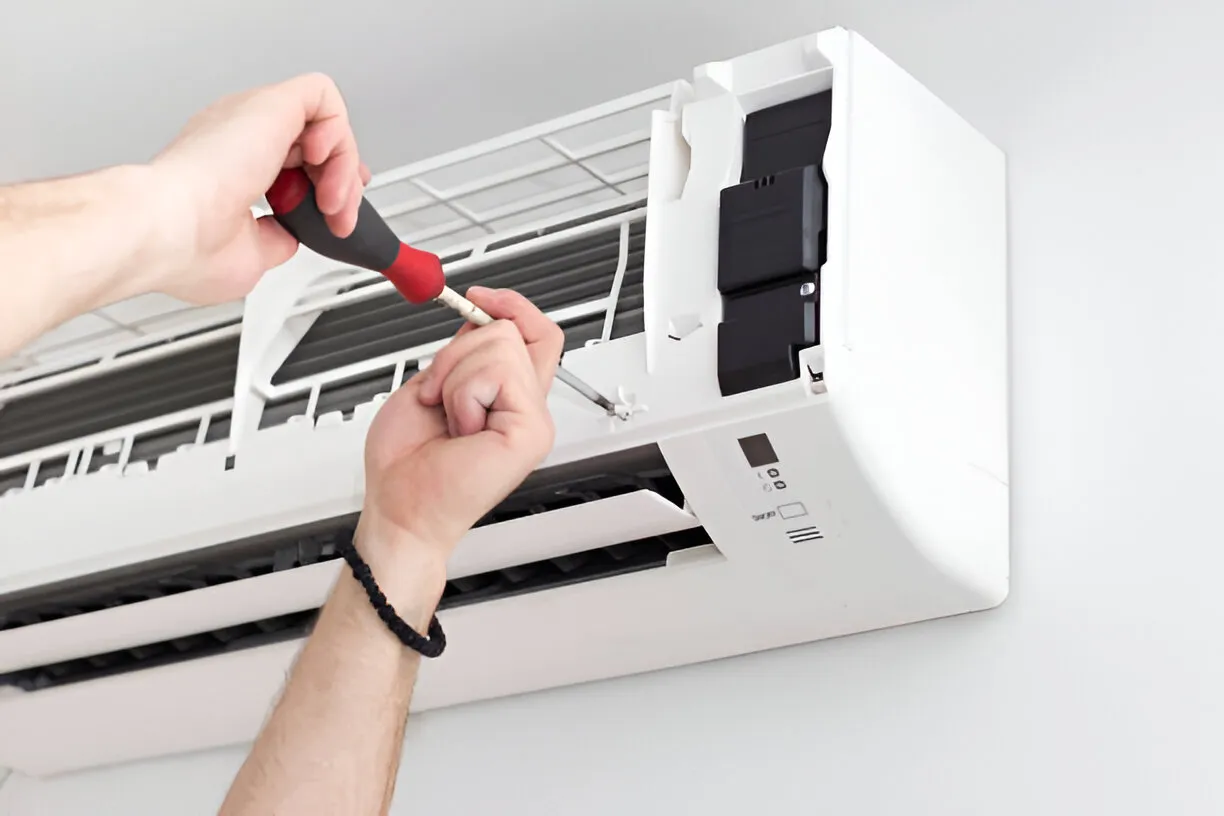
Step-by-step professional installation process
- Pre-install checklist and material staging (verify model, filters, refrigerant type, electrical capacity).
- Remove old equipment safely and dispose of refrigerant per environmental rules.
- Prepare pad or roof mounting, set condenser, and install line sets and electrical connections.
- Modify or install ductwork as required, including sealing and insulation.
- Install indoor coil/air handler or evaporator and connect drainage for condensate.
- Evacuate lines, charge refrigerant to manufacturer specifications, and restore electrical power.
- Commissioning: test airflow, temperature split, static pressure, and controls.
Post-installation testing and system commissioning
A thorough commissioning is essential for performance and warranty protection:
- Verify refrigerant charge and system pressures match manufacturer specifications.
- Measure airflow and temperature differentials across the coil to confirm capacity and dehumidification.
- Test electrical components, safety controls, and thermostat calibration.
- Demonstrate basic operation and maintenance items to the homeowner and provide documentation of equipment settings and warranties.
Warranty and financing options explained
- Typical coverage includes a manufacturer warranty on major components and a labor/installation warranty from the installer. Understand which parts are covered, the duration, and any required maintenance to keep coverage valid.
- Financing options commonly offered through lenders or third-party programs include fixed-term loans, payment plans, and sometimes promotional terms. Evaluating total lifecycle cost — upfront investment plus operating costs — helps determine the best option for your household budget.
Expected timelines and what to plan for
- Simple like-for-like replacements typically take one business day once equipment and permits are confirmed.
- Jobs requiring ductwork modification, repositioning of equipment, or home alterations may take 1 to several days.
- Permit processing and inspections can add days to the schedule; installers who handle permits streamline this step.
- Plan for brief interruptions to HVAC and electrical circuits during work and ensure clear access to work areas.
How to prepare your Menomonee Falls home
- Clear access around the outdoor condenser and indoor air handler or furnace closet.
- Move obstacles and fragile items from the work area, and secure pets.
- Ensure someone is available on the day of installation to review final thermostat settings and warranty paperwork.
- Confirm utility access and clear pathways for technicians and equipment.
Benefits after professional installation and basic maintenance tips
- Comfort: consistent room-to-room temperatures and improved humidity control during humid summers.
- Efficiency: modern systems run quieter and use less electricity than older units.
- Reliability: correct installation and commissioning reduces service calls and extends equipment life.
- Maintenance tips: replace filters regularly, keep outdoor units clear of debris and snow, schedule annual tune-ups, and monitor thermostat and system performance seasonally.
A professionally planned AC installation in Menomonee Falls, WI focuses on proper load sizing, ductwork integrity, code-compliant permitting, meticulous installation, and thorough commissioning. That combination delivers dependable comfort, better humidity control for local conditions, and long-term efficiency — all essential for Wisconsin homeowners seeking a worry-free cooling solution.
.png)
The Healthy Home Club is a year-round home maintenance plan designed to prevent breakdowns, catch issues early, and provide priority service when needed.
Essential Plan
$29/month
Annual HVAC, plumbing & electrical inspections
Priority scheduling
Priority scheduling
Reduced diagnostic fees
10% off repairs
Complete Plan
$39/month
Everything in essential
No after-hours diagnostic fees
15% off repairs
Extended warranty eligibility
Total Protection $49/month
Everything in complete
Annual water heater flush
Advanced system checks
1 free emergency dispatch per year
VIP priority scheduling
HVAC
Seasonal tune-ups to keep systems running efficiently
Plumbing
Annual whole-home inspection to catch issues early
Electrical
Safety inspection to identify risks
Most Home Breakdowns Are Preventable
Most issues don’t happen overnight — they build over time. The Healthy Home Club helps catch problems early so homeowners can avoid unexpected repairs.
Member Benefits
- Priority service
- Discounts on repairs
- No after-hours fees
- Fewer unexpected breakdowns