
Sewer Line Inspection & Repair in Cedarburg, WI

Sewer Line Inspection & Repair in Cedarburg, WI
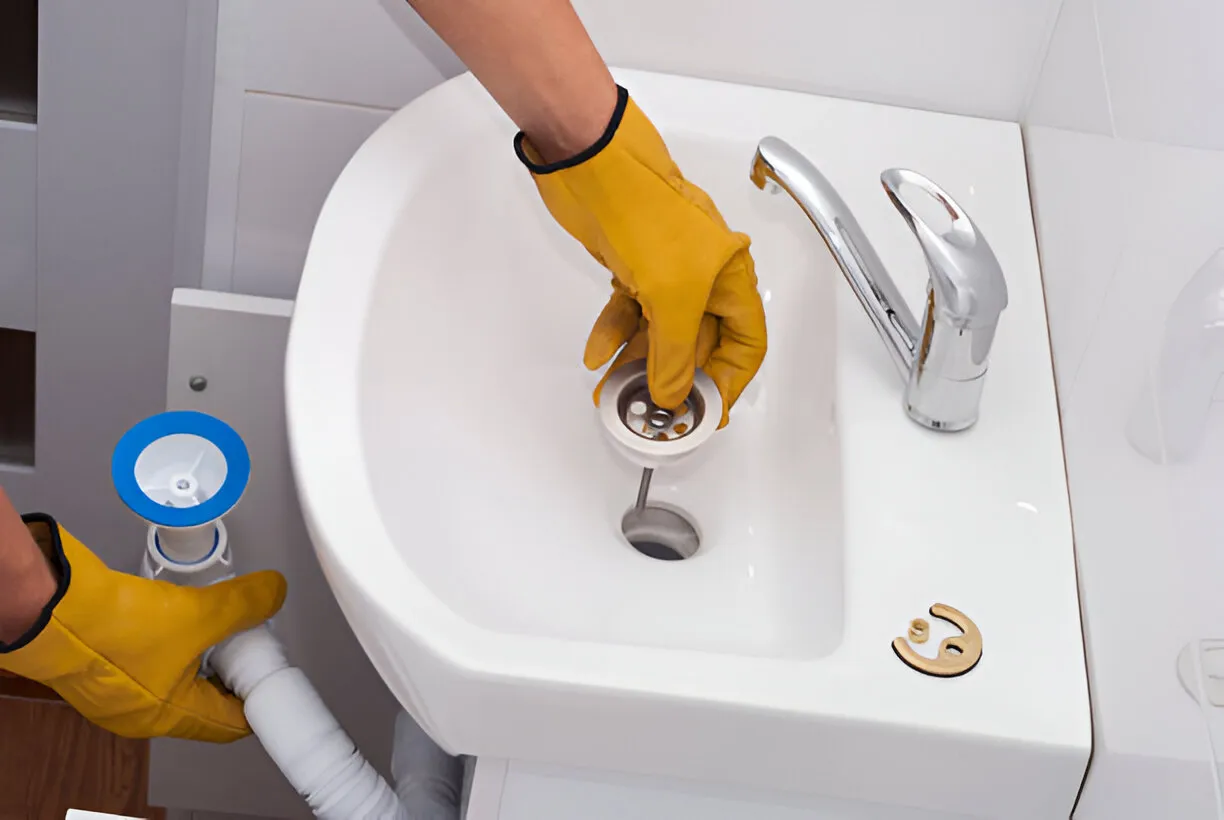
A functioning sewer line is critical to a healthy, comfortable home. In Cedarburg, WI, older pipe materials, large yard trees, freeze-thaw cycles, and seasonal groundwater fluctuations make regular sewer line inspection and timely repairs particularly important.
What a camera-based sewer line inspection looks like
A professional camera inspection is a noninvasive way to diagnose exactly what is happening underground.
- Preparation: The technician locates the sewer cleanout (usually near the foundation or at the property line). In some cases the camera is inserted through a cleanout, a basement drain, or a nearby manhole.
- Camera run: A flexible, high-resolution camera on a push rod is inserted into the pipe. The technician records video and still images, pans and tilts to capture defects, and measures distance to the problem using on-screen footage.
- Reporting: Expect a clear report with time-stamped video or images, distance-to-failure, material type (clay, cast iron, PVC), and an explanation of findings and repair options. A sonde or locator may be used to map the pipe alignment beneath the yard or driveway.
Inspections typically take one to a few hours depending on access and the length of the lateral.
Common sewer problems in Cedarburg homes
Cedarburg’s climate and older housing stock contribute to a predictable set of issues commonly revealed by camera inspections:
- Tree root intrusion: Nearby maples, oaks, and other mature trees send roots into joints or cracks, causing blockages and progressive damage. Roots are one of the most common findings.
- Cracks and hairline fractures: Freeze-thaw movement, settling soils, or corrosion in cast iron pipes produce cracks that allow infiltration of roots and groundwater.
- Offsets and misaligned joints: Soil movement or poor original installation can shift joints, causing leaks and blockages.
- Bellies and sags: Pipes that are unsupported or have settled form low spots where solids collect, causing recurring clogs.
- Grease and debris blockages: Kitchen grease, baby wipes, and other solids can accumulate, especially in older, rougher pipe interiors.
- Collapsed sections or corrosion: Severe deterioration in cast iron or clay lines can lead to partial or full collapse, requiring more extensive repair.
Repair options — from spot repairs to full replacement
Repair strategy depends on the type and extent of damage, pipe material, depth, and location relative to landscaping and structures.
- Hydro-jetting and mechanical root cutting: Used for cleaning and temporarily removing roots and grease. Effective when the pipe structure is sound but obstructed.
- Localized spot repair (trench or spot dig): Excavation of a small section to replace or patch a damaged joint or broken segment. Best for isolated failures near accessible areas.
- Trenchless sectional repair (short liner): A cured-in-place technique for fixing a short damaged section without full replacement. Good for targeted fixes where minimal surface disruption is desired.
- Cured-in-place pipe (CIPP) lining: A trenchless full- or partial-length liner that creates a new pipe within the old one. Suitable when the pipe is continuous but has cracks, corrosion, or multiple small defects.
- Pipe bursting / trenchless replacement: A new pipe is pulled through while fracturing the old pipe outward. Useful when full replacement is needed but surface restoration must be minimized.
- Open-cut replacement: Traditional excavation to remove and replace pipe. Necessary when alignment is severely compromised, collapse has occurred, or lateral connections make trenchless impractical.
Pros and cons: trenchless methods reduce landscaping and driveway disruption and often shorten restoration time. Open-cut is more intrusive but sometimes required for irreparable damage.
How repair decisions are made
Technicians weigh several factors when recommending repairs:
- Severity and length of damage: Short, localized defects favor spot repair; continuous deterioration favors lining or bursting.
- Pipe material and age: Cast iron and clay may be prime candidates for trenchless relining; heavily corroded or collapsed sections may need replacement.
- Access and surface impact: Driveways, patios, or mature landscaping may push the decision toward trenchless options to reduce restoration cost.
- Long-term value vs short-term cost: Lining offers longevity with less disruption; full replacement may be more costly upfront but can offer the longest service life.
- Code and municipal requirements: Work near public mains or street cuts can require permits and inspections; local regulations affect the scope and method.
Typical timelines and cost considerations
- Inspection: 1–3 hours on site; report provided the same day or within 24–48 hours.
- Minor cleaning/root cutting: Often same-day service or within a day.
- Spot repair: Usually completed in 1 day for simple digs; additional days for backfill and restoration drying.
- Trenchless lining (CIPP): 1–3 days including curing and lateral reinstatement, depending on length and complexity.
- Full replacement: 2 days to a week or more, depending on access, length, and restoration needs.
Cost drivers include pipe length and depth, repair method chosen, need for permits, restoration (driveway, concrete, landscaping), and seasonal conditions. In Cedarburg, winter freeze conditions and high spring groundwater can extend timelines and may require dewatering or scheduling adjustments.
Warranties, verification, and workmanship assurances
Reputable repairs include clear warranty coverage and verification steps:
- Material and installation warranties: Lining manufacturers often provide long-term warranties (commonly 10–50 years for cured-in-place liners). Workmanship warranties for labor commonly range from 1–5 years.
- Post-repair camera verification: A final camera run confirms the repair quality and that blockages are cleared; this should be part of the completed-job documentation.
- Code compliance and permits: Proper repairs include necessary local permits and inspections. Documentation should be provided for municipal records when applicable.
Preparing for an inspection and handling emergencies
What homeowners can do to streamline the process:
- Before inspection: Clear access to cleanouts, mark buried sprinkler heads, keep pets inside, and avoid using drains for several hours prior to the visit.
- Questions to ask before scheduling: Ask about experience with trenchless methods, sample inspection reports, warranty terms, insurance coverage, permit handling, and restoration responsibilities.
- Emergency signs: Multiple slow drains, sewage backups, foul odors in the basement or yard, soggy patches or sinkholes in the yard, or gurgling sounds in fixtures indicate immediate attention is needed.
- Emergency response basics: If a backup occurs, stop using water, avoid contact with sewage, and keep children and pets away from affected areas. Temporary measures like bypass pumps or emergency excavation may be required until a permanent repair is completed.
Sewer line inspection and repair in Cedarburg, WI, is best handled with a clear diagnosis, knowledge of local conditions, and a repair plan that balances disruption, long-term reliability, and code compliance. A professional camera inspection gives the factual basis to choose the right solution for your home and the unique local challenges Cedarburg properties present.
Related Services & Nearby Areas
Explore our full Sewer Line Inspection Repair services, or find sewer line inspection repair in a nearby community:
.png)
The Healthy Home Club is a year-round home maintenance plan designed to prevent breakdowns, catch issues early, and provide priority service when needed.
Essential Plan
$29/month
Annual HVAC, plumbing & electrical inspections
Priority scheduling
Priority scheduling
Reduced diagnostic fees
10% off repairs
Complete Plan
$39/month
Everything in essential
No after-hours diagnostic fees
15% off repairs
Extended warranty eligibility
Total Protection $49/month
Everything in complete
Annual water heater flush
Advanced system checks
1 free emergency dispatch per year
VIP priority scheduling
HVAC
Seasonal tune-ups to keep systems running efficiently
Plumbing
Annual whole-home inspection to catch issues early
Electrical
Safety inspection to identify risks
Most Home Breakdowns Are Preventable
Most issues don’t happen overnight — they build over time. The Healthy Home Club helps catch problems early so homeowners can avoid unexpected repairs.
Member Benefits
- Priority service
- Discounts on repairs
- No after-hours fees
- Fewer unexpected breakdowns